The Most Expensive Claim You Can Have This Winter Starts at an Outdoor Faucet in October.
Frozen-pipe claims average $30,000+. Here's how to drain outdoor faucets and sprinklers, and document it, before the first hard freeze.
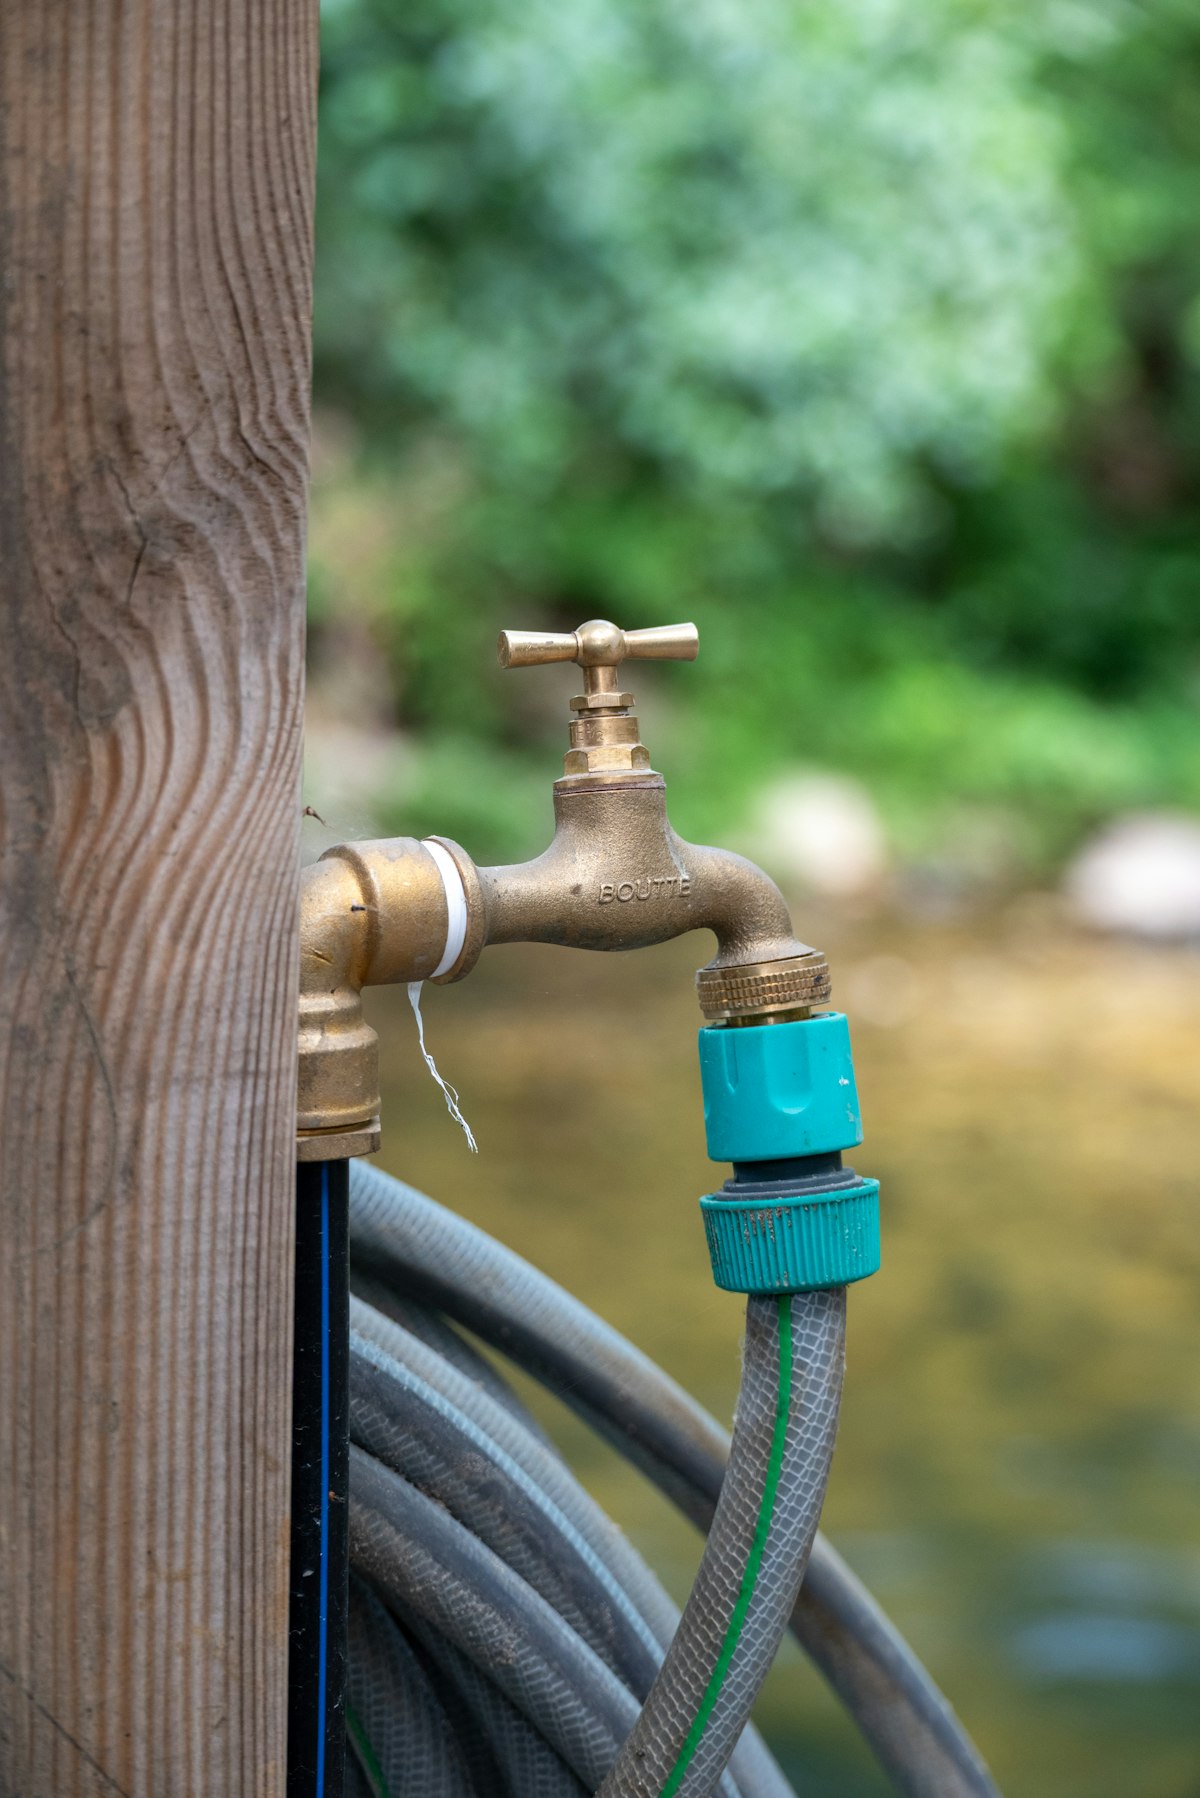
A frozen-pipe claim averages more than $30,000, and one of the most common ways it starts is a garden hose left attached to an outdoor faucet. One large national carrier paid over $628 million on more than 20,000 freeze claims between 2024 and mid-2025. The fix costs about an hour and a few dollars, and the window to do it opens right now: after your last watering, before your first hard freeze.
What a burst supply line costs, and why it costs that much
The pipe is not the expensive part. A replacement fitting runs a few hundred dollars. The water is what costs you.
A pipe that cracks can release more than 250 gallons a day. If you are at work, or asleep, or away for the weekend, that water runs for hours before anyone notices. It soaks drywall, insulation, subflooring and whatever sits on the floor. Then come drying equipment, mold testing, tear-out and rebuild. That is how a $20 problem becomes an average claim above $30,000, and severe cases clear $50,000.
Here is what most people don't know: the faucet you can see is rarely where the water damage happens. Ice forms in the outdoor stub, expands, and can split the pipe inside the wall, past the point you can see. The crack stays hidden and closed while the ice holds. It only leaks when the ice thaws. You come home to a warm day and a wet wall.
Find every line that leaves the heated part of your house
Before you drain anything, list what you have. New homeowners miss this step most often, because the previous owner never mentioned half of it. Walk the outside of the house, then the garage, basement and crawlspace, and look for:
- Outdoor hose bibs (the spigots). Count them, including the one on the back deck and the one behind the shrubs.
- An irrigation system, with its backflow preventer above ground and its shutoff valve inside.
- Water lines in a crawlspace, an unheated garage or an attached shed.
- Pool or spa equipment, and any pool-house plumbing.
- An outdoor kitchen, outdoor shower or detached workshop with its own supply.
Write the list down. If you find a spigot with no matching shutoff valve inside the house, note that too. It needs a plumber before winter, not after.
The shutoff-and-drain sequence, in order
If your house has standard bibs (not frost-proof), follow this sequence for each one:
First, disconnect every hose, splitter and timer. Second, find the interior shutoff valve for that line, usually in the basement, crawlspace or utility room, and turn it off. Third, go back outside and open the bib all the way. Fourth, return to the interior valve and open the small bleeder cap on it (if it has one) to let the last water out. Leave the outdoor bib open all winter. Fifth, drain and coil your hoses and store them in the garage or a shed.
No interior shutoff? Disconnect the hose, open the bib and cover it. That is a weaker fix. Add a shutoff valve to your plumber's list.
Irrigation blowout: when to pay for it, and when draining is enough
Sprinkler lines hold water in buried pipe, in valve boxes and in the backflow preventer. A single missed low point can split a fitting underground, and you will not find out until spring.
Hire a blowout (get a quote first, since prices vary by region and zone count) if your system has buried zones with no manual drain valves, if you live where the ground freezes deep, or if you have never done it before. A pro pushes compressed air through each zone. The wrong tool or too much pressure can crack fittings, so do not borrow a large compressor and guess.
Drain it yourself if your system has manual drain valves at each low point and your climate sees only occasional hard freezes. Shut off the water supply, open every drain valve, and drain the backflow preventer. Then photograph the whole process, because the photos become your record (more on that below).
Frost-proof bibs, sleeves and the three upgrades worth doing once
A frost-proof bib has a long stem that puts the shutoff valve deep inside the warm wall. It works, but only if the water can drain out of the barrel. A hose left attached traps water in the pipe, and the "frost-proof" faucet freezes like any other. Disconnect the hose every time.
Foam faucet covers give you a false sense of security. They slow heat loss for a night or two. They do not stop a sustained freeze. If you use them, use them on a bib that is already drained.
Three upgrades are worth doing once and forgetting:
- Replace old standard bibs with frost-proof models, installed with a slight downward slope so they drain.
- Add an interior shutoff valve with a bleeder cap to every outdoor line that lacks one.
- Insulate exposed supply pipes in the crawlspace and garage, and seal the air leaks around pipes where they pass through the wall.
The maintenance condition hidden in your policy
Most homeowners policies cover sudden and accidental water damage, and a burst pipe usually qualifies. But many policies attach a condition to freeze losses: you must have used reasonable care to keep the building heated, or you must have shut off the water supply and drained the system. That condition often applies most sharply when the home, or a part of it, is unoccupied or unheated.
Read that as an information gap, not a trap. Policies are written in general terms, and most homeowners never see the specific wording until a claim. But the gap is real. If an adjuster finds a hose attached to a split bib, or a detached garage with live water and no heat, that fact can shape how the claim is handled.
Pull out your policy's freezing or water damage section and read it this week. Look for the words "heat," "drain," "unoccupied" and "vacant." If the wording is unclear, ask your agent to explain it in plain terms. A five-minute call now beats a dispute in February.
What to photograph and file so a February claim has an October record
If a pipe bursts, the first thing your carrier wants to know is what you did to prevent it. A dated record answers that in one step.
On the day you winterize, take a photo of each bib with the hose removed, the open bib, the closed interior valve, the irrigation drain valves, and the blowout invoice if you hired one. Note the date and the temperature forecast. Save all of it in one folder, and name the folder for the year.
Most people never do this, and most people cannot find their records when they need them. This is exactly the kind of loose end that Rafter is built to tie down. During a Rafter assessment, we map the outdoor lines, crawlspace plumbing and irrigation on your specific property. Your mitigation plan then lists each winterization task, in order, with a seasonal reminder timed to your local freeze window. Rafter also stores your dated photos and records with the home, so a February claim has an October record behind it. Better-documented homes make for smoother claims and better outcomes for homeowners and carriers alike.
Your next step: this weekend, walk the outside of your house with your phone, count every spigot and irrigation zone, and photograph each one after you drain it. Then start your Rafter assessment at rafterhome.com so the list, the reminders and the records live in one place before the first freeze.